I also did a lot of research and calling around on this; I found a company that swears it works and they have been doing it for years but most Pros say that they would only use glass with an acrylic cover. I made my overflow out of just acrylic and siliconed it(a few times), but it always leaked so I installed a durso standpipe. You could try that instead of having to get more glass cut. It works great but makes the box really more of a cover for the pipes then an overflow. All I really care about is that my tank looks clean and it doesn't overflow my sump when the pump goes out. Your right about seams being sloppy, I remember when adhering the two it was a pain to work with but I found the black silicone seemed to worked a little better for some reason. Still leaked though...
[Timezone Detection]
Create Account - Join in Seconds!
-
01-19-2012, 06:54 PM #41

-
01-20-2012, 09:22 AM #42

Thanks for your advice here. Last night I had a free hour while the baby took a nap. So, I took my swiss army knife and went at it with the overflow seal. I have it out now. When I get the glass cut, I think I'm going to use some tape like you would with painting a wall to make the seal look a little cleaner. Also, I was using some silicone that came in something like a toothpaste tube. This resulted in a lot of inconsistent dabs as I squeezed it out by hand. I think I'm going to get one of those calk guns to help with that end of things. It's frustrating because the silicone has a strong acetic acid smell (vinegar) and my wife hates it! Now, I have to, "stink up the house again with [my] hobby."

-
01-20-2012, 10:06 AM #43

I used the small tubes at fist as well, but soon switched to the caulk gun. Your right makes it easier and a lot more consistent, it just might be a tight fit getting a caulk gun in a 25 gal cube. You should be fine if you careful though. I was able to build mine in a gerage so I didn't have to hear my wife complain, just have eyes burn...
Get a Caulk Tool if you don't already have one, Lowe's sells them cheap and they make the seams look great. Yup a caulk tool, some razorblades and a lot of paper towel with acetone were my best friends when I was building my tank.
-
02-22-2012, 02:17 PM #44

Update 2012.02.22
Almost wet...
FTS 2012.02.22

The plumbing is FINISHED! I'm in the midst of water test number two. I've put together and taken this thing apart enough times now that I could do it in my sleep.
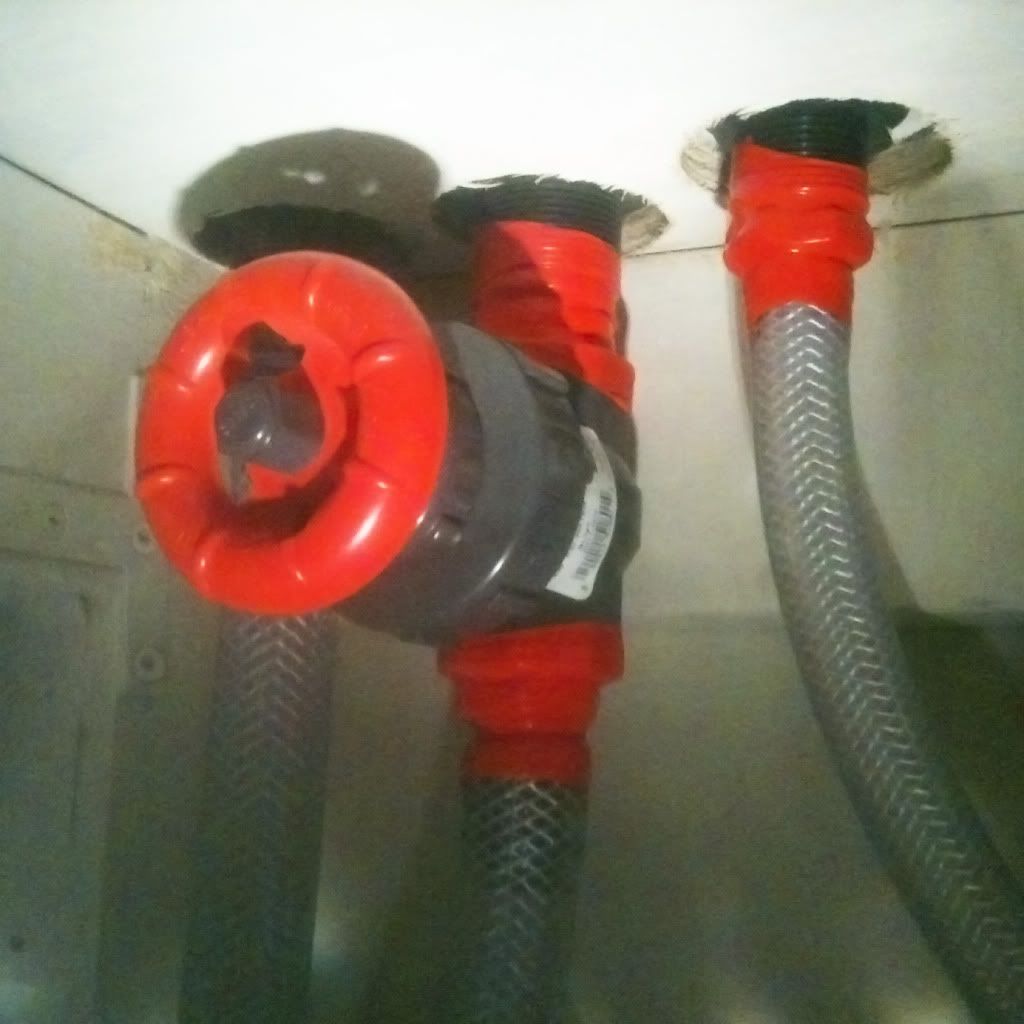
The first water test was moderately successful, in that I noticed leaks and knew I could fix them. There was a small leak at a joint of the overflow, and also in some of the plumbing. I added another layer of silicone (clear this time, I accidentally bought white the first time, D'oh!) to the overflow and used teflon tape on the threaded joints. Additionally, I came across a silicone fusing tape at the hardware store when I was picking up the teflon tape. It was only $10, so I figured WTH. It was very easy to use and sticks to itself. 'Might not be necessary, but it's a little added insurance the helps me sleep at night. It's the red stuff:

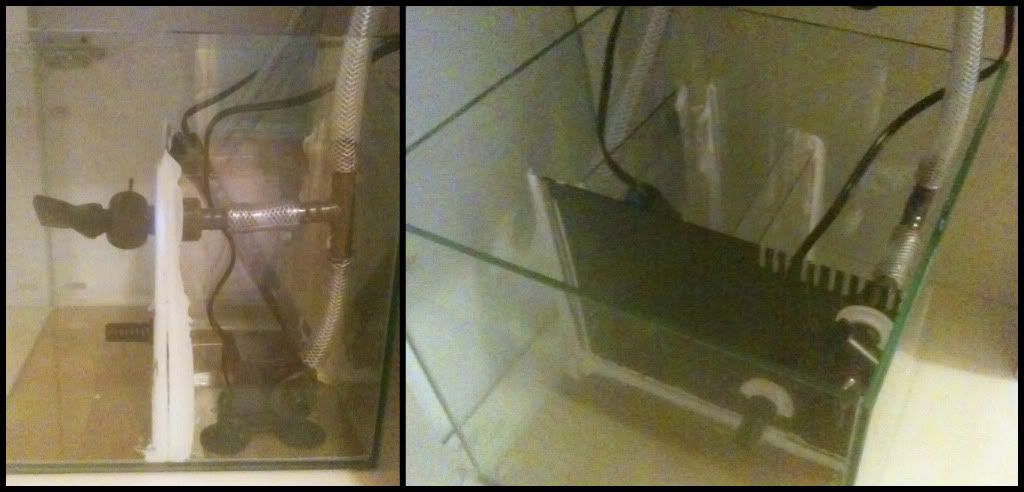
Here's a crappy pic of the sump/fuge...poor lighting + iPhone =

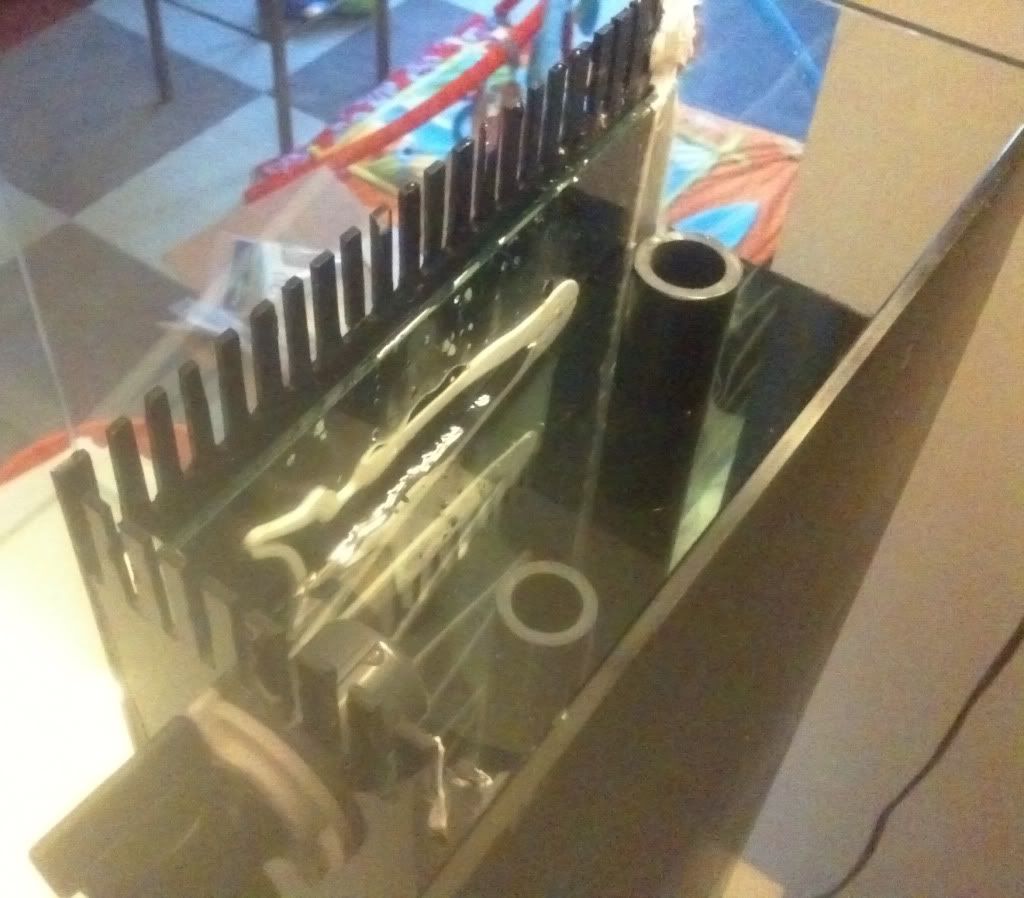
You can see the basic layout that I sloppily siliconed in place (pfft! whatever..). Everything in there is acrylic. It should be glass, but I'm getting really tired of all this. So, I just went for it. This is the 7 gallon Mr. Aqua cube. It's a pretty low volume of water for the sump, but was really all that would fit in my stand. I'm considering to replace the whole thing down the road with a larger custom acrylic setup from glasscages.com.
I T-ed off the return pump and am using a ball valve to go into the fuge. I'll close it off for the most part to have a reduced flow. Also, in the fuge is a small drain at the bottom that leads to the return area. This essentially turns the whole fuge into a water supply for the return in case I have excess evaporation.
One thing I noticed during the first water test is that my pump was a bit loud. I'm not sure if maybe there was air in there or what, but if that keeps up, I'll have to replace it. Right now I have a Maxijet 900 in there. Verdict pending..
This morning, I put water in just the overflow to test the seal again (water level is above the lower pipe (gate valve checks out!)). You can see I had some glass cut and siliconed the acrylic overflow in front of it. So far, so good. If I don't see any leaks when I get home I'll do another complete water test of the whole setup. If that checks out till the end of the week, I'll be making about 30 gallons of RO/DI and get everything going.

Wish me luck!
-
02-22-2012, 06:14 PM #45

I don't think you need luck, I think you will get it just the way you want it.

-
02-22-2012, 09:11 PM #46

Thanks for the encouragement 2pairs!
 The tank is now full for the second water test. Everything is going well so far. I have the gate valve tuned just right too. Silent as can be..with the exception of the Maxijet. I got some air bubbles out of it, but it's still loud. Maybe it'll quiet down overnight.
-
02-22-2012, 10:10 PM #47

Looking forward to the next update!!
-
02-23-2012, 08:17 AM #48

Nice Job can't wait to see it full.
-
02-23-2012, 09:45 AM #49

The anticipation has been killing me!! Fill it up already would ya!!! LOL
-
02-23-2012, 10:19 AM #50
Similar Topics
-
Mini Reef Aquarium
(35g-90g) Geohawk's 60 gallon cubeBy Geohawk in forum Member's ReefsReplies: 1Last Post: 06-08-2013, 06:03 PM -
60 Gallon Cube Complete
By Tomm in forum Equipment Sales & TradesReplies: 3Last Post: 11-21-2012, 09:45 AM -
Aquarium Equipment want to buy 60 gallon cube aquarium
By handln1 in forum Want to BuyReplies: 0Last Post: 06-21-2012, 11:56 PM -
70 gallon cube
By Slim Jim in forum Equipment Sales & TradesReplies: 6Last Post: 08-09-2011, 01:24 PM -
12 gallon Nano Cube complete
By holly in forum Equipment Sales & TradesReplies: 8Last Post: 05-23-2010, 04:57 PM


 Reply With Quote


 There's nothing like being a Reefer!
