[Timezone Detection]
Create Account - Join in Seconds!
-
04-26-2010, 10:23 AM #11
-
04-26-2010, 03:43 PM #12

OK, the top, I didn't take any pix's of cutting it out and routing - got lazy
 I had to really think ahead and decided where i was gonna to have everything sit in the sump.
The probe holders, dosing line holders and the ATO float switch are on
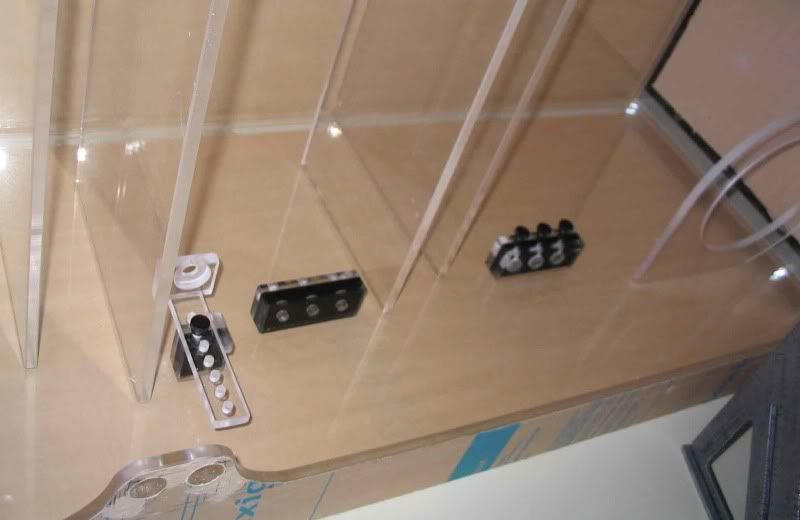
But getting ahead of my self:
that's the top, sitting on the bottom getting shimmed up and ready for "gluing". Remember the needles are there to keep a constant gap all around the parameter of the tank, the razors (or shims) are to close up that gap so the needle slides in and out with a little friction. This will aid in "capillary" action and all you have to do is feed it and keep it ahead of you. Like you using the garden hose and hosing off the walkway of leafs, you start on one side and just keep the hose behind the leafs as the water moves them along.
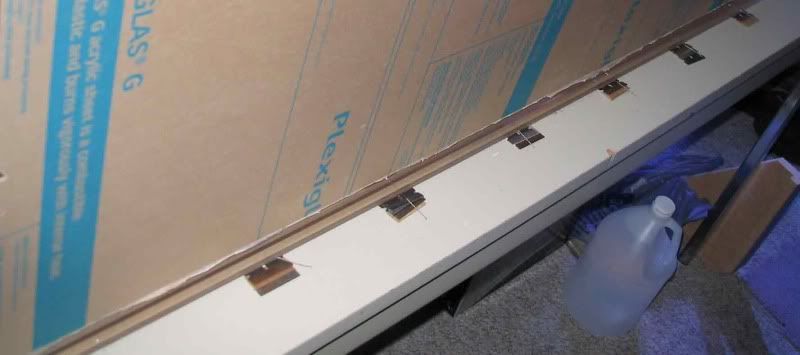

Presto, the top of the sump with a 2 3/8" Euro brace
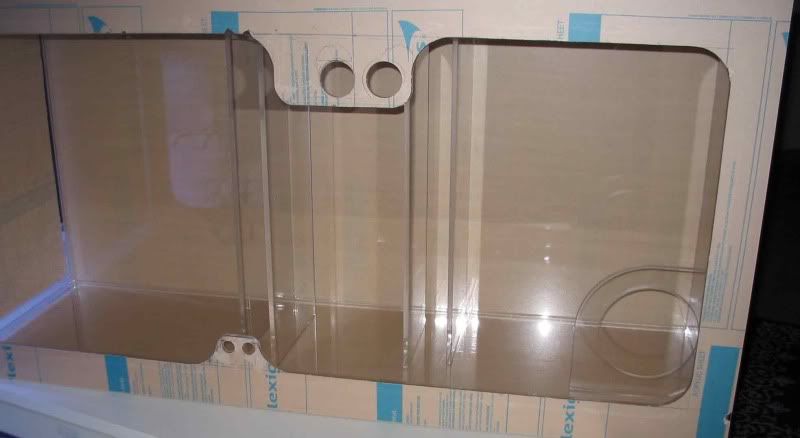
These two holes are for the skimmer pump silencer and filter (there's floss and charcoal in the tube)
The filter/silencer is this thing I made for my current sump and skimmer. Those Siccie (sp) pump draw a lot of air and are noisy.
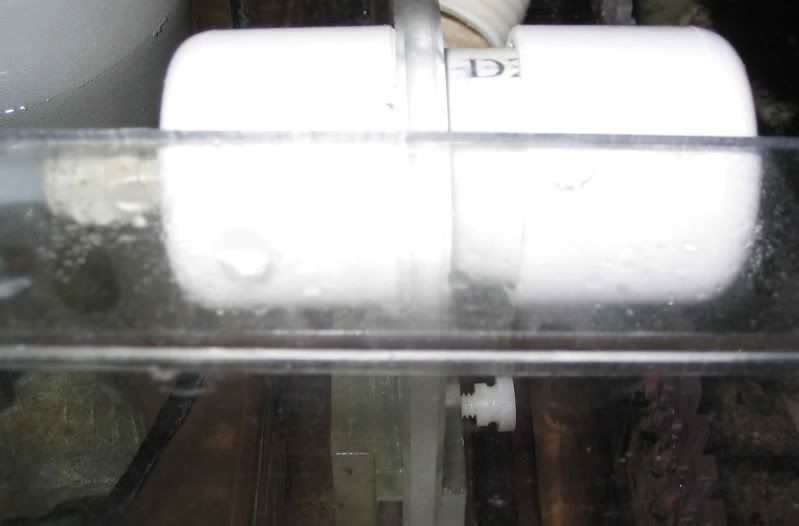
just a 1 1/2" PVC with 2 end caps, one of them drilled and the other end fitted with a JG fitting for easy removal
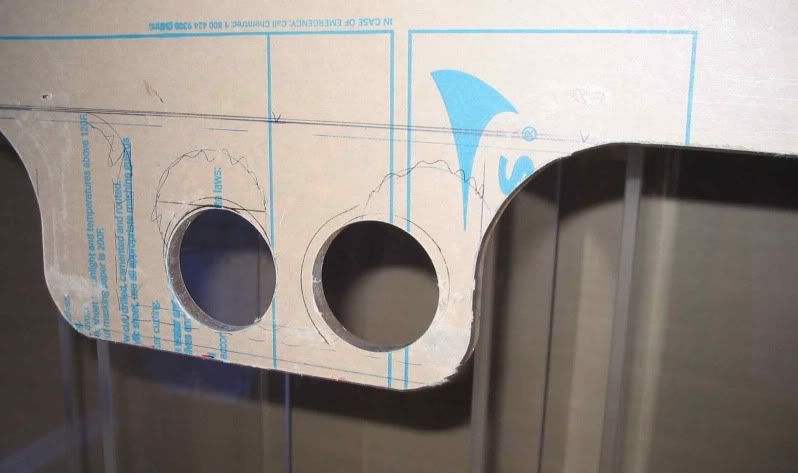
or can be a convenient place for 2 cup holders and are toward the front of the sump
These 2 smaller holes are for wire management, the probes, heater cords and if enough room the dosing lines (might have to make another one for those)

and these are toward the back of the sump. Here you can see the chamfer on the edge - no sharp corners here.
It's a PITA to drain water from the sump and clean up the junk on the bottom, learned this from my current sump :nopity: so i will be adding this
I'm sure not too many reefers have a drain on their sumps, mine will
It'll just span the skimmer area and return area as the far right side is the fuge and don't want to bother that area.
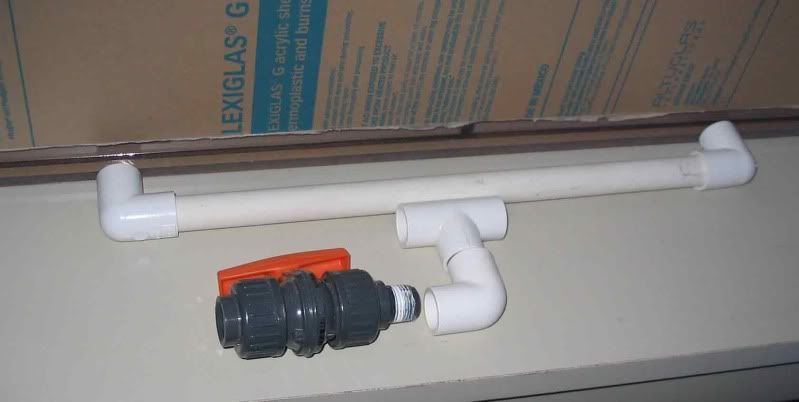
Almost finished, just have to route the edges, chamfer the edges and I'm done. Corners on acrylic can be "sharp" very sharp I've cut myself many a time on a corner so now everything I do the corners are rounded over and edges chamfered with the router.Last edited by lemonyx; 04-26-2010 at 03:47 PM.
-
04-27-2010, 04:53 PM #13

Now since most of the sump is done, I need to drill it for a drain. This is the best way to drill acrylic, with a piece of backing to prevent chip, tear out, I use a piece of scrap 2x4 and a clamp, a good friend helps here if you don't have any clamps.
The wood is centered where the hole will be, just peeking out below the paper mask.
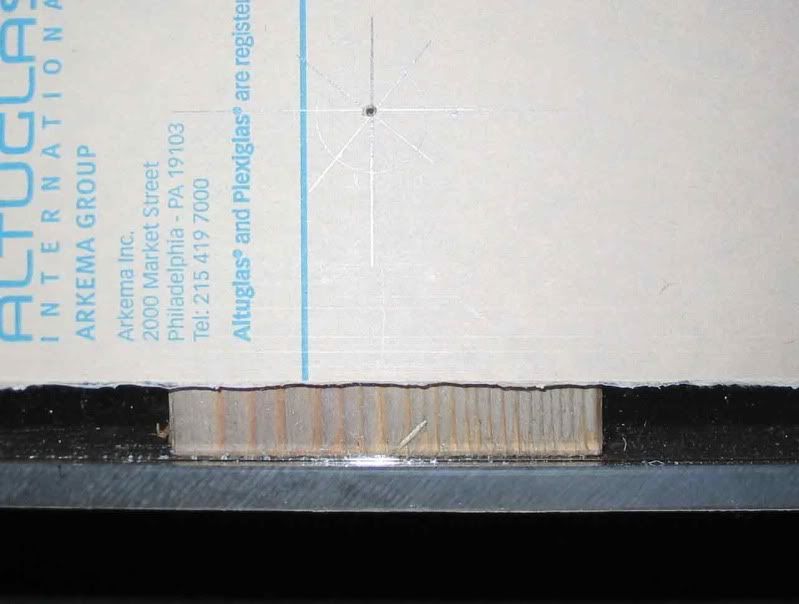
From the bottom up

The tool of choice, it's a 1/2" variable speed drill by Dewalt. I'm using Uniseals so I have the correct size hole saw installed

First hole
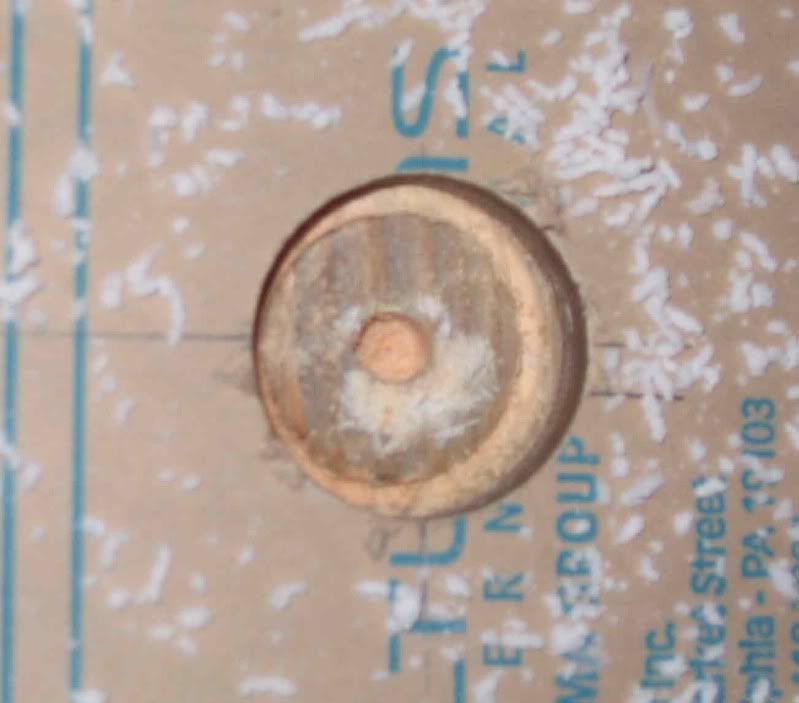
2nd hole
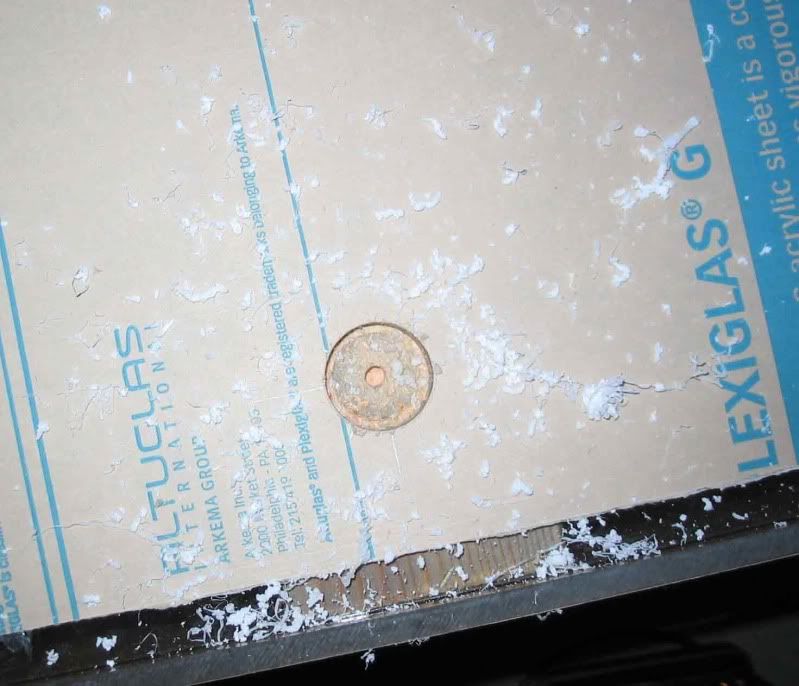
Both holes done

All done. Now to rout the tank and it'll be finished
-
04-27-2010, 05:08 PM #14

that sump is awesome! thanks for sharing!
-
04-29-2010, 11:50 PM #15

thank you just hope someone can use this to build their own
-
04-30-2010, 08:01 AM #16

Very envious of your skills and knowledge! Thanks for posting this thread!
What is next on your plate?"We shouldn't think of an environment where livestock can survive, we should ensure an environment where livestock can thrive."-Rabidgoose
"If it's gonna be that kinda party, Ima stick my ........ in the mashed potatoes!"-Beastie Boys
-
04-30-2010, 04:43 PM #17

A great looking start to a homemade tank. Keep the pics coming....
-
05-01-2010, 01:40 AM #18

What's next is the 200gal display tank, 72"L x 30"W x 22"H black back external overflow box in black with a 4"-5" Euro brace around the top.
Haven't decided yet on the light reflectors, I could make another LumenArc reflector and a longer hanging pendant for a total of 3 250w 14k Phoenix HQI's or???
-
05-01-2010, 07:17 AM #19

Or.......you could go in a slightly more "green" direction and do a DIY LED system. Less energy draw, less heat production to worry about, fewer bulb replacements etc. Either way more more more pics!
"We shouldn't think of an environment where livestock can survive, we should ensure an environment where livestock can thrive."-Rabidgoose
"If it's gonna be that kinda party, Ima stick my ........ in the mashed potatoes!"-Beastie Boys
-
05-06-2010, 11:16 AM #20

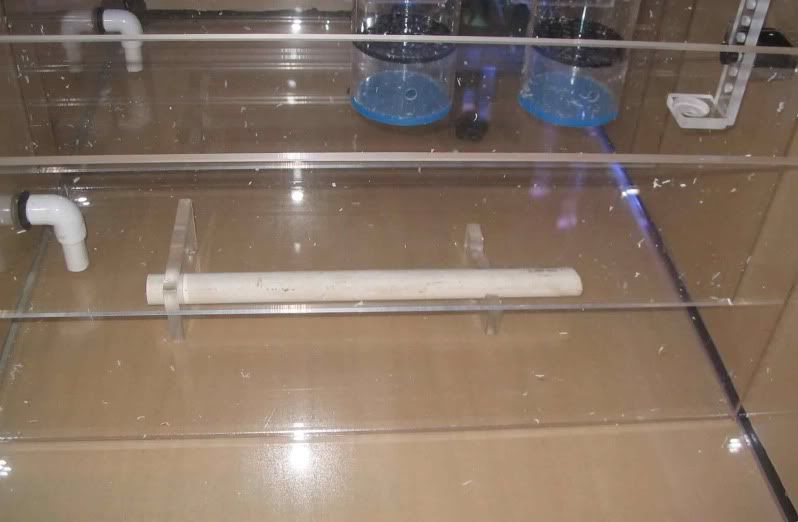
Well the sump is finally finished. Had a nice day with little rain, got the sump routed and edges chamferd. Added 2 media reactors to the return area along with a heater rack
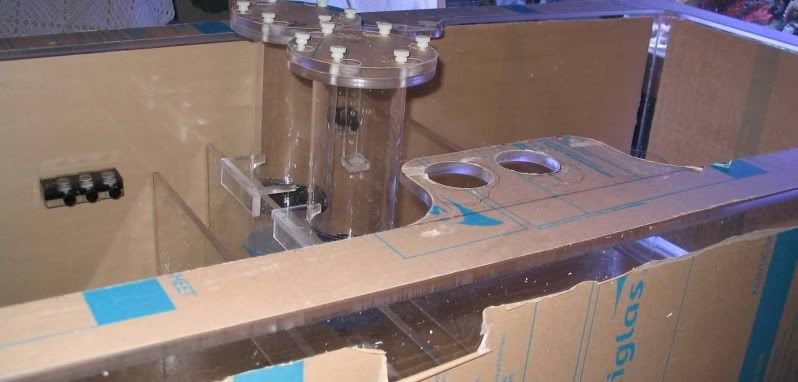
that pvc is where the heaters will sit - those pvc elbows are where the drain is
Similar Topics
-
BadFish's DIY Vol.2: Don't Be a Chump, Build Your Own Sump
By Badfish in forum DIY Projects & PlansReplies: 5Last Post: 04-28-2014, 12:58 PM -
Mini Reef Aquarium
(35g-90g) My new buildBy lngliv3 in forum Member's ReefsReplies: 4Last Post: 06-12-2012, 07:51 PM -
Tanks, Sumps & Refugiums 1st sump build
By jehudial in forum BasicsReplies: 0Last Post: 02-14-2012, 02:38 AM -
Please help me build......
By ReeferRob in forum DIY Projects & PlansReplies: 23Last Post: 08-27-2011, 10:41 AM -
Large Reef Aquarium
(91g-180g) My 120 in-wall build(and re-build) w/picsBy Reptoreef in forum Member's ReefsReplies: 67Last Post: 11-02-2007, 01:15 PM


 Reply With Quote


